Table of Contents
TogglePainting by Home Glazer is a great way to give a fresh look to any space whether it’s a room, living area, or any space. Painting the interior walls and exterior walls by professional painters is the easiest way to freshen up your place. Whether you’re taking on an extensive re-modelling project or you just want to change things up. There’s no better, more affordable way to freshen up a space than a new coat of paint by professional painters.
Painting your house can be a nightmare if your house painter or painting contractor is not professional and skilled enough. Painting is difficult and requires specialized training. Well, you can hire Home Glazer’s painting contractors for all your painting plans and relax. Because when we paint a room, we always get professional results by working efficiently, neatly, and with careful preparation.

Here are the steps which we follow to paint a room.
- Move all furniture out of the room. Before we start painting a room, we start by emptying the room. We move the lightweight furniture to another room and take every possible object off the walls. If there is anything that can’t be moved outside the room such as large furniture, it is piled up in the centre of the room.
- Cover the floor and the remaining objects with plastic sheets. Our professional home painters always cover the floor and anything we move to the centre of the room with a plastic sheet. We do not use or recommend using fabric to cover during painting jobs because paint can be soaked through the fabric and sometimes, it is impossible to get rid of the paint from the fabric’s surface. Even while being very careful, paint can still drip during painting jobs. Paint drops can be hard or sometimes, even impossible to remove paint from some surfaces without damaging them. That’s why we ensure that everything in the room is covered with plastic sheets.

- Tape the electric switchboard, trim, windows & door frame. We use painter’s tape (masking tape) to mask off your mouldings, windows, doors, switchboards, etc. Our painters also mask it off where it meets the edge of the wall and at all the necessary places.
- Repair damaged areas. We start with repairing and fixing every dents, chip, or crack over the wall and ceiling with POP (Plaster of Paris), Wall Putty, Gypsum Compounds, etc. Patch small imperfections with the mixture of POP (Plaster of Paris) and Putty. For larger holes and cracks, we use POP to fill it with the use of a putty knife and allow the patches to dry, then sand smooth. This is the most important part of the entire painting process. Because no paint, regardless of its cost, colour, thickness, or manufacturer’s claims, can hide a pockmarked or cracked surface.
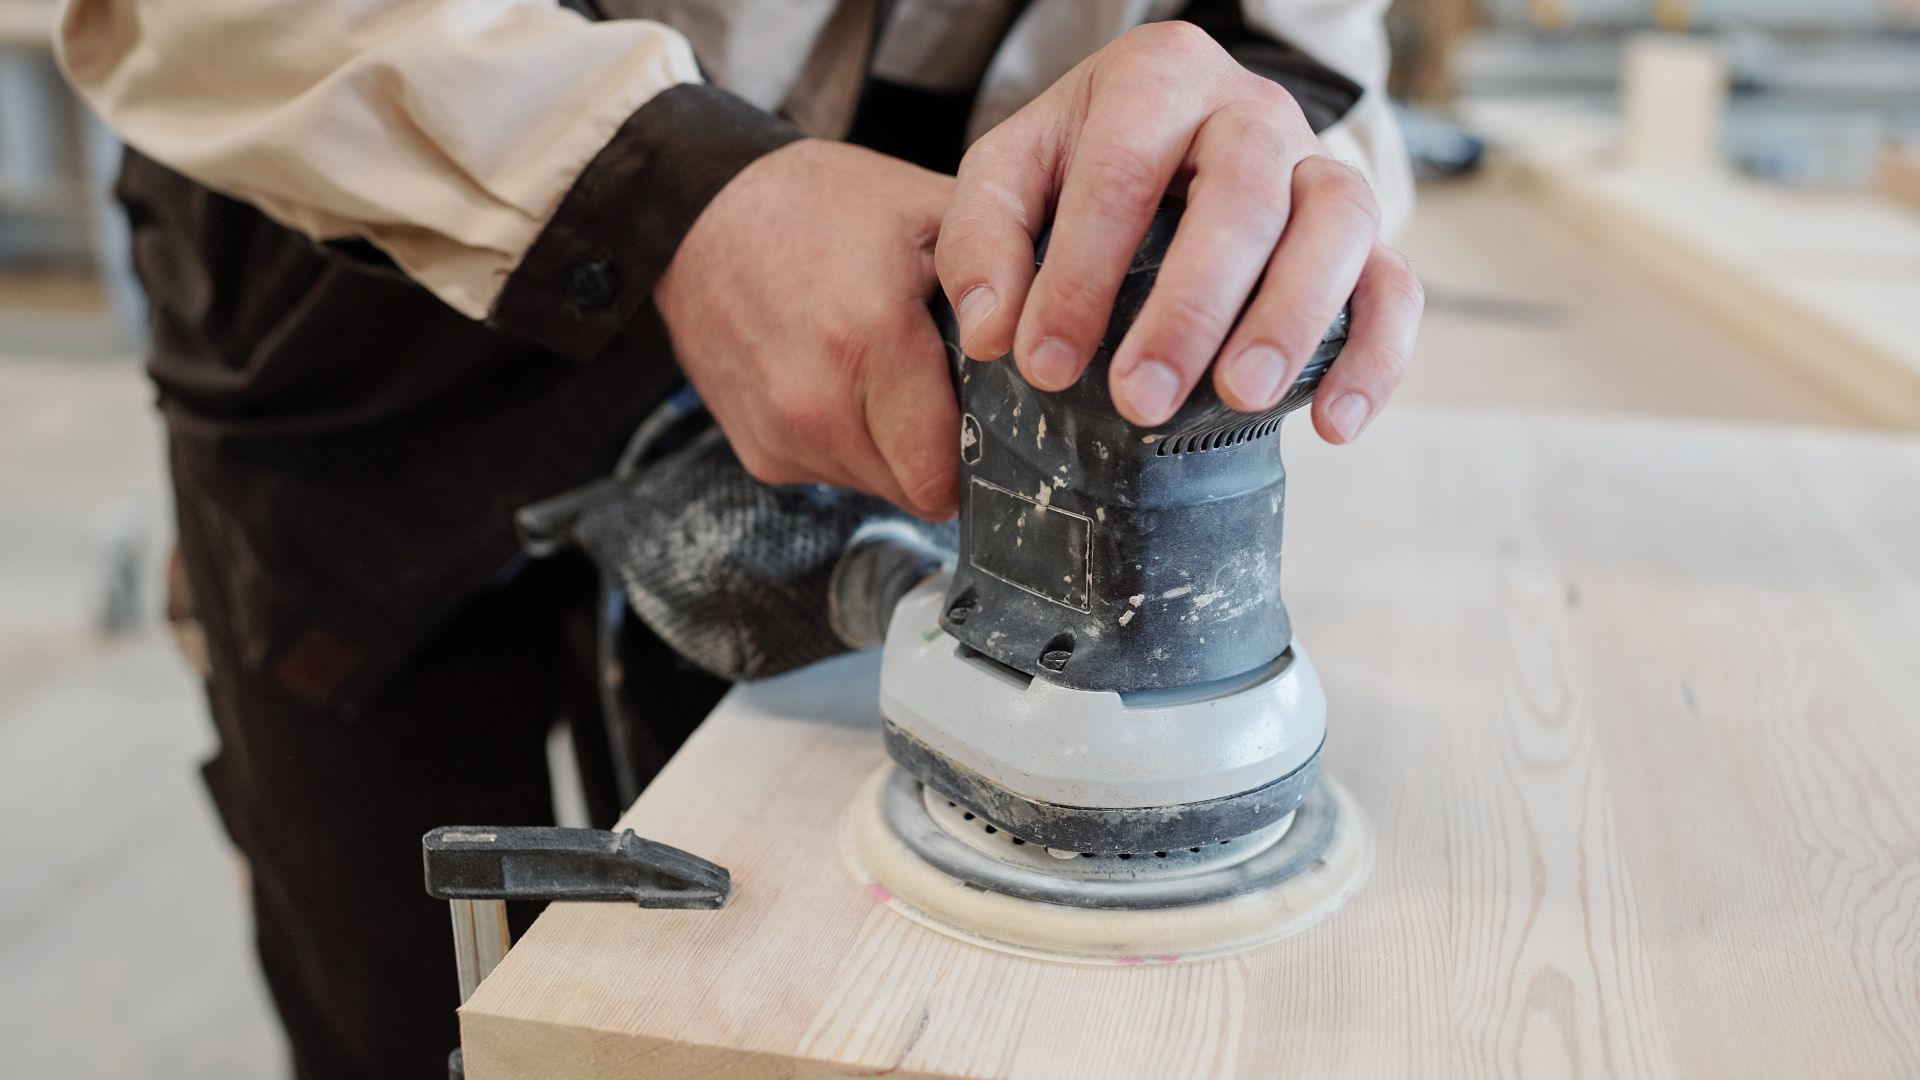
- Sanding the wall. If the walls are already glossy or slick, the paint might have a harder time adhering to the existing finish. Our experienced painters use fine-grit sandpaper, like 150-grit or 180-grit, and go over the walls lightly in a circular motion. We sand just enough to remove the shiny surface of the paint from the ceiling and the walls. When the grit of one section becomes covered with dust, we switch to an unused section and continue, after this, we wipe down the walls with a dry cloth to remove any dust. We don’t sand enough to sand down into the paint or the wall underneath, as this might create an uneven appearance in the paint job.
- Priming the wall. We don’t always prime a wall before painting it. But it becomes mandatory to prime it when we’re painting a new drywall or going to paint from a very dark colour to light colour (or light colour to dark colour) Or there are holes and patch up one the walls.
This creates a smooth base for the final paint colour and it’s also smart to prime before painting because primer serves three main functions. - First, it blocks stains from bleeding through.
- Second, it allows one-coat coverage for the paint.
- Third, and most important, it improves paint adhesion, resulting in reduces blisters and peeling.
- There are many paints available in the market that contain primers, but nothing covers as well or improves adhesion as much as a dedicated primer.
- Painting the ceiling. When the paint is well mixed and our professional painters get ready to begin. Before we begin brushing & rolling, we cut in by using our paintbrush to paint the corners where the ceiling meets the wall. Doing this first ensures we get the edges and also allow the roller to cover brush marks left behind, so the paint blends better. There are a few tricks for getting a smooth, consistent coat of paint on the ceiling. First, we work in sections about 5 or 6 ft. square by following the “keeping the edge wet” strategy. We move quickly from one section to the next to make sure the paint along the edge doesn’t dry before we paint the adjoining section. and this helps us in avoiding the laps marks.
- Wait until dry. We wait for the first coat of paint to dry completely. Then we paint another 1 or 2 coats of paint perpendicular to the first one using the same careful techniques. Some local painters like to skip this cutting-in step and save time by mashing the roller into the corner instead. This method is sloppy, builds up excess paint in the corner, and can leave runs or a thick paint line on the wall. But at Home Glazer, we don’t allow our painter to skip this cutting-in step. We always want to deliver professional results by working efficiently, neatly, and with careful preparation.

- Painting the walls. Before we start painting the walls, we again ensure that the paint is well mixed. We first paint along with the moulding and the corners from top to bottom and then the adjoining areas. We use long strokes in a ‘W’ or ‘M’ pattern for ample coverage while painting with a paintbrush and roller later. By doing this we achieve a smoother, more seamless look. Because we’ll be able to blend the wet paint, we’ve brushed on with wet paint you’re rolling. This is one of the best painting techniques for walls and is called “keeping the edge wet”. Once one wall is completed with one coat, we move to another one and in the same way, we paint all the walls of the room. Once the walls are dry to the touch, we paint the second and respective coats to the first one using the same careful techniques.
- Clean Up and put the furniture back into the room. After the client’s satisfaction, we start the cleaning process. Yes, even after doing multiple coats over the ceiling and wall our work doesn’t end here. It is time for cleaning up and putting furniture and other objects back in their place. We remove all masking tape and gather plastic sheets. Make sure any spills or splatters are dry before we move them. And finally, we put everything back in the room at their place.

Some important points to keep in mind to paint a room
- Finalize the paint colour for the ceiling and walls before you start your paint job.
- Be ready with all the tools and sufficient paint for the project.
- Whether it is a room or any other space, the first thing you paint in the space should be the ceiling.
- If there are any patches over the ceiling and wall, do not forget to use a primer before painting.
- To avoid lap marks, always follow the “keeping the edge wet” strategy.
- Always be aware of things to be avoided while painting.
Nowadays, finding the right and professional house painters or painting contractors for your home might take a while. And to get the right painter you may your friends, family, and neighbours for a recommendation or you can search “Home Glazer” on Google and contact us. Whatever your search method is, always prequalify the painting contractor before getting an estimate.

Conclusion
We, at Home Glazer, stick with all these steps as a basic principle before signing the deal with you. We aim to emphasize both the beauty and structural integrity of your living. Whether it is the painting of one room or an entire home, we view all projects in the same manner. An investment in our future and our client’s complete satisfaction. Home Glazer takes care of the fact that this is your dream house and we work assuming your task as our own.

Relevant Posts
- A Comprehensive Guide to Wooden Polish Shades for VeneerWith its thin actual timber layer, veneer is an affordable and flexible alternative for furniture and interior surfaces. The aesthetic of a space can… Read more: A Comprehensive Guide to Wooden Polish Shades for Veneer
- 6 Differences between PU Matt Finish and High Gloss FinishAre you a new homeowner looking to transform your furniture, confused about whether you should choose between PU Matt Finish and High Gloss Finish?… Read more: 6 Differences between PU Matt Finish and High Gloss Finish
- 6 Steps to Restore PU Polish Chipping: Easy and SimplePU Polish protects your furniture against damage caused by moisture and sunlight, but it is itself at risk of chipping most of the time.… Read more: 6 Steps to Restore PU Polish Chipping: Easy and Simple
- 5 Restore DUCO Paint Chipping Fast and Easy Steps If your DUCO Paint furniture is damaged and you have no clue what to do, then check out our 5 fast and easy tips… Read more: 5 Restore DUCO Paint Chipping Fast and Easy Steps
- 5 Reasons Why Italian PU Is Better Than The Economical PU If you are a new homeowner who wants to create a wonderful home for yourself but is confused about which PU you should go… Read more: 5 Reasons Why Italian PU Is Better Than The Economical PU
- 5 Indian PU Brand Best in the Market Are you looking to design your home and give it a royal touch, we have listed 5 Indian PU Polish brands as the best… Read more: 5 Indian PU Brand Best in the Market


